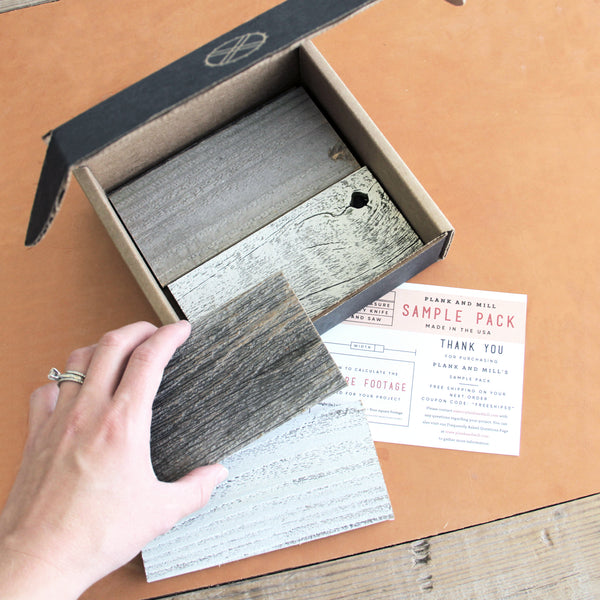
The one question we get again and again: “Is there a removable way to install Plank & Mill reclaimed wood planks?” Our lightweight peel and stick planks make it easy to live in walls you love, but they can pose an issue for those looking for a less permanent solution. Since our planks are intended for permanent installation, if you try to remove them after they have been installed, it will most likely cause damage to the wall surface and that’s no good. Plank & Mill to the rescue! 
Plank & Mill recently did a temporary install in a Skype call room at 36 Degrees North, a co-working space in Tulsa. A temporary install refers to the use of an additional base layer so you can take your planks down without damaging your walls.
By using hardboard, available at most home improvement stores for under $20, you can have the reclaimed wood plank walls you love and rest easy knowing they can be removed when you’re ready, without destroying the property. Using hardboard panels will allow for easy installation and removal. It’s perfect for a rental property or any space where the planks can’t be permanent.
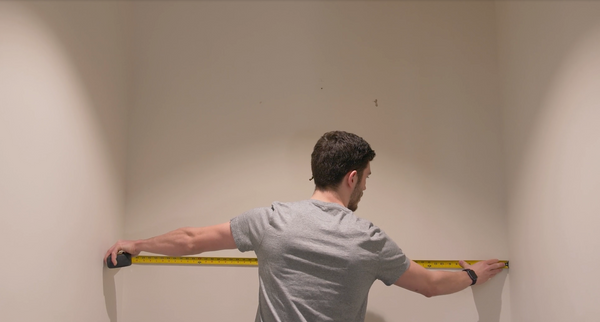
So, first things first, measure the space where you want to install your planks. Once you’ve written down those measurements, head to your local home improvement store to purchase hardboard.
These inexpensive, lightweight panels are available at most home improvement stores, you can check availability at local Lowe's. For ease of installation, have them to cut the hardboard about a quarter inch short of those measurements.
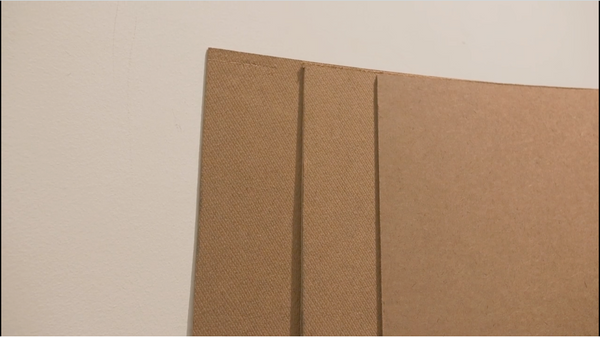
You can now install the hardboard in your space using drywall screws or finishing nails. Simply space the screws evenly along the perimeter of the hardboard to secure it. 
As you can see, the baseboard in this room was simply taped over rather than being removed and causing more work since the space is carpeted. The tape allow the planks to be installed & easily removed without having to redo the baseboard.

Once the hardboard is up, you can lay out the reclaimed wood planks on the floor in a staggered pattern as you would for a normal installation to decide how you want to install your planks. Once you have decided on your pattern, simply peel and stick, applying solid, consistent pressure on each plank.
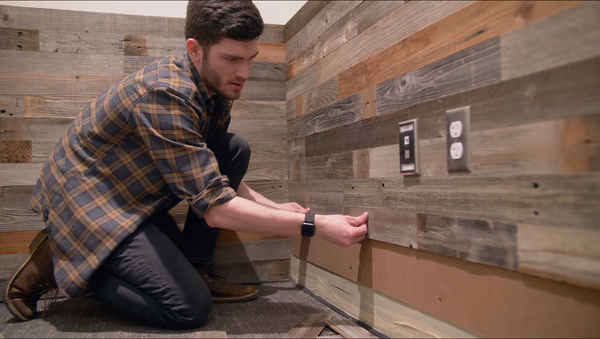
In this space, since we we’re only going halfway up the wall, we opted to cap the planks with a trim piece. Using a lightweight nail gun with finishing nails, we installed the cap in just a matter of minutes.
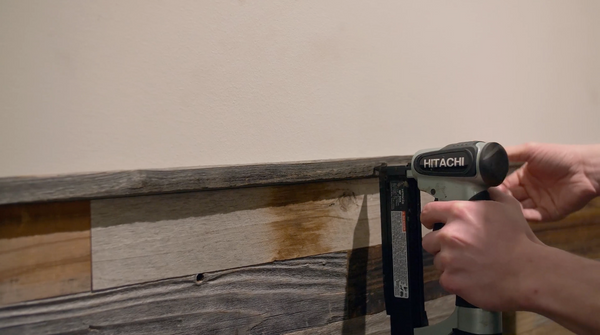
The whole project was done in a single day, with just a little help from a friend here and there, DIY projects are more fun when you have someone else to keep you company. Watch the complete video to see how easy it is to create a removable plank wall in your home or office.
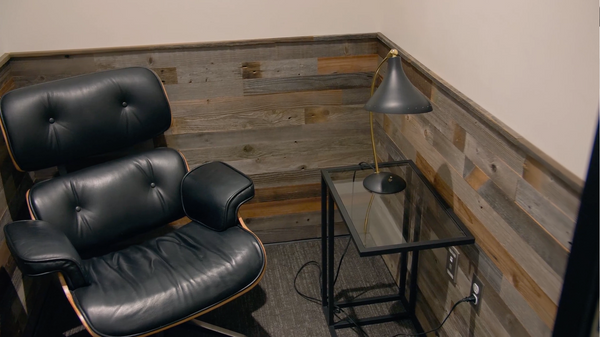
Ready to see the transformation in real-time? Click the video below & see the entire project from beginning to end, from the bland white box it began as to the fantastic feature it has now! 
Your Turn
If you're ready to live in walls you love, click here to claim your free sample kit. Each sample box comes with two samples of our white wash planks &our reclaimed planks in both the three inch and five inch widths. You can walk these planks around your home see how they look in different light and against different colors. You'll also receive a design booklet & other goodies to help you make your DIY dreams a reality. Our peel and stick wood planks are just as easy as they seem!

