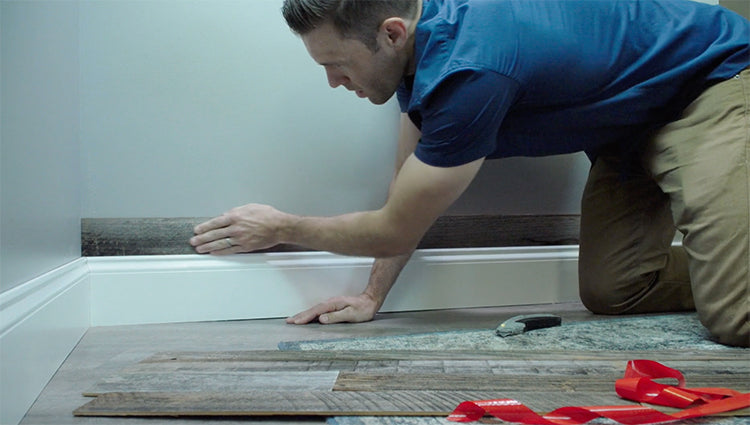
Happy Friday friends! It’s time for another tutorial installment and next up is wood pressure. Grab yourself a cup of coffee and I’m going to share with you just how easy installing peel-and-stick reclaimed wood planks can be. All you’ll need is a little arm pressure. Or to make life even easier, pick up a j-roller from your local hardware store.
Wood Pressure Instructions
1. The wood planks utilize a pressure sensitive adhesive, so it is important to dry fit the planks to the space to ensure fit and placement before you adhere them.

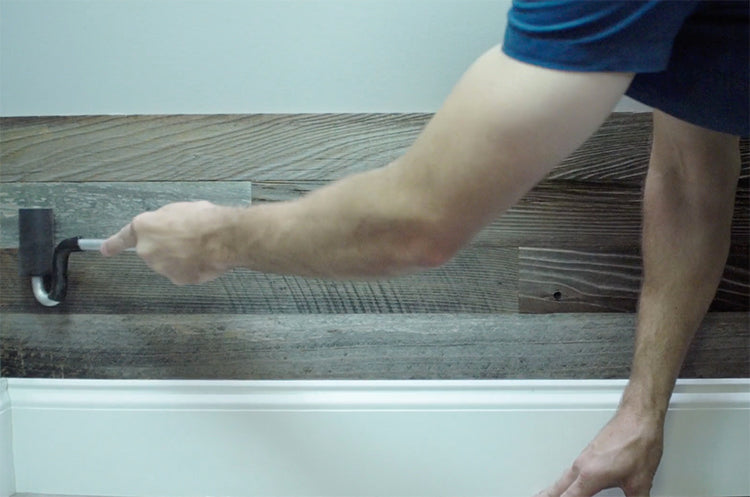
2. Remove the backer of the pressure sensitive adhesive, place your piece on the wall surface, and use firm pressure along the entire face of the board.

3. Once you have installed a section, we recommend going back over the surface with a J roller or laminate roller to ensure a steady, even pressure is applied to the entire wall.

That’s it!
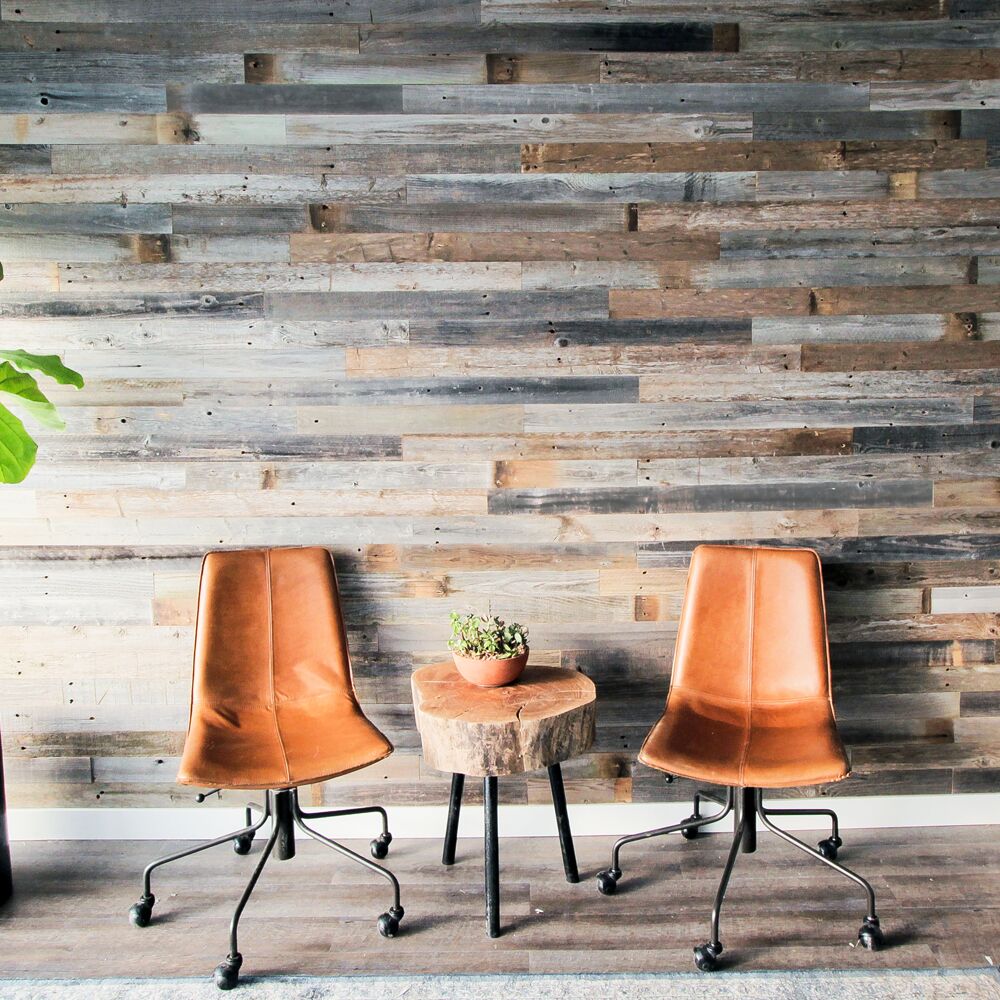
We really meant it when we said our planks were peel-and-stick. No power tools necessary. No wonder our customers are cranking out their DIY walls in just a few hours.

Get Your Sample Pack
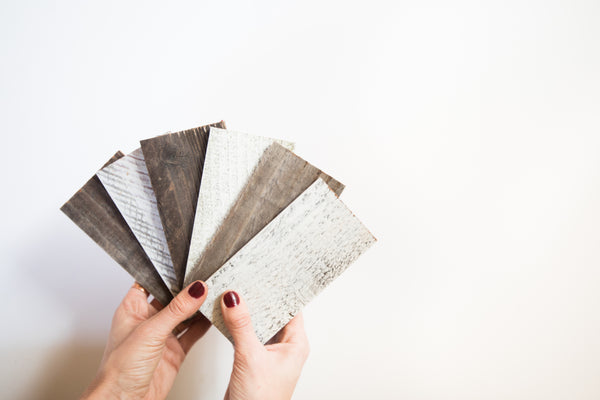
Have you seen our new 5” wide planks we recently launched? I cannot wait to see how our customers use these new wide wood beauties. If you’re not quite sure what sizing is best for you space, click to claim your free sample pack for free! We’ll send you samples of all sizes and finishes so you can nail down what you like best for your design from the comfort of your own home.
If you’d like to see some recent projects finished by other Plank and Mill customers, you can find us on Instagram @plankandmill, and don’t forget to share your handiwork with us as well!
Happy Planking!
-Cassie

